Create and Define a Space
Prerequisite: You must first build your virtual desktop interface (VDI) before you create a Space. (See Build Your Secure Desktop for directions.)
When creating a Space, you can specify the people and tools you want to work with.
We recommend you create a separate Space for each piece of work you undertake to minimize the number of data products in your Space. This avoids any potential issues related to subscription lineage or when a subscription expires.
Subscription lineage is enforced for any data product that has ever been included as part of your Space. So, if you are planning to create and export an engineered data product then make sure you have all the necessary subscriptions.
You must be subscribed to at least one data product with an active Spaces or Spaces and Export subscription plan to create a Space.
To Create a Space:
Click on the Spaces icon on the navigation bar.

Click Create Space and complete the form:
Enter a Name
(Optional) Enter a Description.
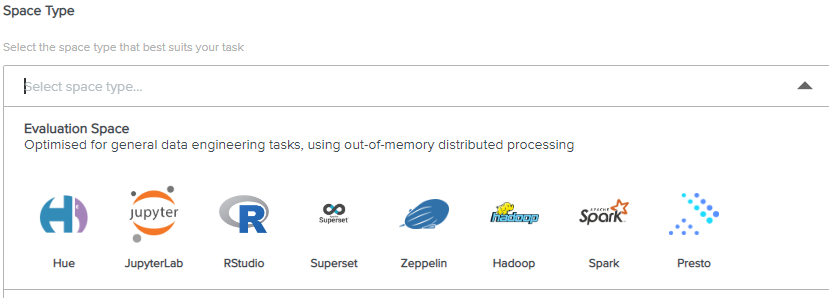
Select the Space Type from a pull-down list that has been provided and is provisioned with a number of industry standard data science tools.

Select the data products you need and add them into the right-hand box.
Add or remove collaborators by selecting users from one side and adding them to the other. Remember, collaborators will also need to be subscribed to all the data products in the space.
Click Create. It takes just a couple of minutes to configure your Space.
Go to the Invites tab to accept or reject invitations to a collaborative space to which you have been invited.
From now on, whenever you return to the Spaces page, you will see a list of all of your Spaces. Click on a Space, and you will be guided to the Secure Desktop screen to launch it. Click on the Help button on the top right of the screen if you need help in launching your Secure Desktop and Space.
References and FAQs
What happens when a subscription expires?
Related Pages
